Tips for Photographing Your Recipes for a Digital Cookbook
When creating a digital cookbook, the visual appeal of your recipes is just as important as the instructions themselves. People eat with their eyes first, and high-quality photographs can make or break the success of your cookbook. A well-composed photo can entice readers to try your dishes, while poorly lit or uninspiring images may deter them. Whether you're a food blogger, a professional chef, or simply someone who loves to cook and share recipes with friends and family, mastering food photography can enhance your cookbook's impact.
1. Understanding Lighting: The Key to Perfect Shots
Lighting is one of the most critical elements in photography, especially when it comes to food. Without proper lighting, even the most beautifully plated dish can look dull and unappealing. Natural light is often the best option for capturing your recipes in a way that looks vibrant and realistic. Positioning your setup near a window during daylight hours can provide soft, diffused light that highlights the textures and colors of your food.
If natural light isn't available, artificial lighting can be used as an alternative. It's essential to avoid harsh overhead lights or direct flash from your camera. These can create shadows and make your food look flat. Instead, opt for softbox lights or LED panels with adjustable brightness settings. You can also use a reflector to bounce light onto darker areas of the dish.
Pay attention to the direction of the light. Side lighting often works best for food photography, as it brings out depth and texture without overwhelming the scene. Backlighting can also work well for certain dishes like soups or drinks, where you want to highlight transparency or steam.
2. Composition Techniques: Arrange Your Dish Like a Pro
How you arrange the elements in your photo can significantly influence its visual impact. One of the most effective composition techniques is the "rule of thirds." Imagine dividing your frame into nine equal parts using two horizontal and two vertical lines. Placing key elements of your dish along these lines or at their intersections will create a more balanced and engaging image.
Another useful technique is leading lines, which guide the viewer's eye through the photograph toward the main subject. For example, if you're photographing a plate of pasta, you might arrange strands of spaghetti in such a way that they draw attention toward a garnish or sauce at the center of the dish.
- Use negative space to allow the viewer's eyes to focus on the main subject without distraction.
- Avoid overcrowding; simplicity often yields better results than filling every inch of the frame.
- Experiment with different angles, top-down shots are popular for flat foods like pizza or pancakes, while side angles work well for taller dishes like burgers or layered cakes.
Your choice of background also plays a role in composition. Neutral tones like white marble or wooden surfaces tend to work well with most foods and won't distract from the dish itself.
3. Choosing Props: Enhancing Without Overpowering
Props are an essential part of food photography, but they should always complement rather than overshadow your dish. The key is finding a balance between making your photo visually interesting while keeping the focus on the food itself.
Select plates and utensils that are simple and neutral in color, white or muted tones tend to work best because they let the colors in your food pop without competing for attention. Avoid brightly colored plates unless they match specific themes in your cookbook.
You can also add small items like fresh herbs, cutlery, napkins, or ingredients used in the recipe to add context to your shot. For instance, if you're photographing a fresh salad, including a jar of olive oil in the background or sprinkling some cracked pepper over the top can make your image feel more dynamic and relatable.
Avoid cluttering your scene with too many props as this may shift focus away from the main dish. Every element in the frame should serve a purpose, either by highlighting an aspect of the recipe or adding context without being distracting.
4. Post-Processing: Fine-Tuning Your Photos
No matter how well you stage and photograph your recipes, some amount of post-processing is almost always necessary to bring out their full potential. Editing tools like Adobe Lightroom or Photoshop offer advanced features for enhancing brightness, contrast, color balance, and sharpness.
The goal is not to manipulate the image so much that it no longer resembles reality but rather to fine-tune elements like exposure and saturation for maximum visual appeal. When editing food photos:
- Adjust brightness and contrast to make colors appear more vibrant without washing out details.
- Tweak white balance settings if needed; overly warm (yellowish) or cool (blueish) tones can make food look less appetizing.
- Add sharpness selectively, focus on enhancing key areas like garnishes while avoiding excessive sharpening that could introduce noise into other parts of the image.
If you're new to editing software, many mobile apps such as Snapseed or VSCO offer user-friendly interfaces with preset filters designed specifically for food photography.
5. Consistency Across Your Cookbook
A consistent style throughout your cookbook helps build its overall identity and enhances its professional appearance. Consistency applies not only to how you edit your photos but also how you stage them, including background choices, types of props used, and camera angles.
Think about how each photo fits into the broader theme of your cookbook, if you're focusing on rustic homemade meals, choosing natural materials like wooden boards and neutral linens will convey that theme throughout each shot.
This consistency becomes particularly important when designing digital cookbooks since readers will view images across various devices with different screen sizes and resolutions. Keeping colors vibrant yet natural ensures they translate well across multiple platforms without appearing too washed out on larger screens or too dark on mobile phones.
6. Essential Equipment: Tools That Make a Difference
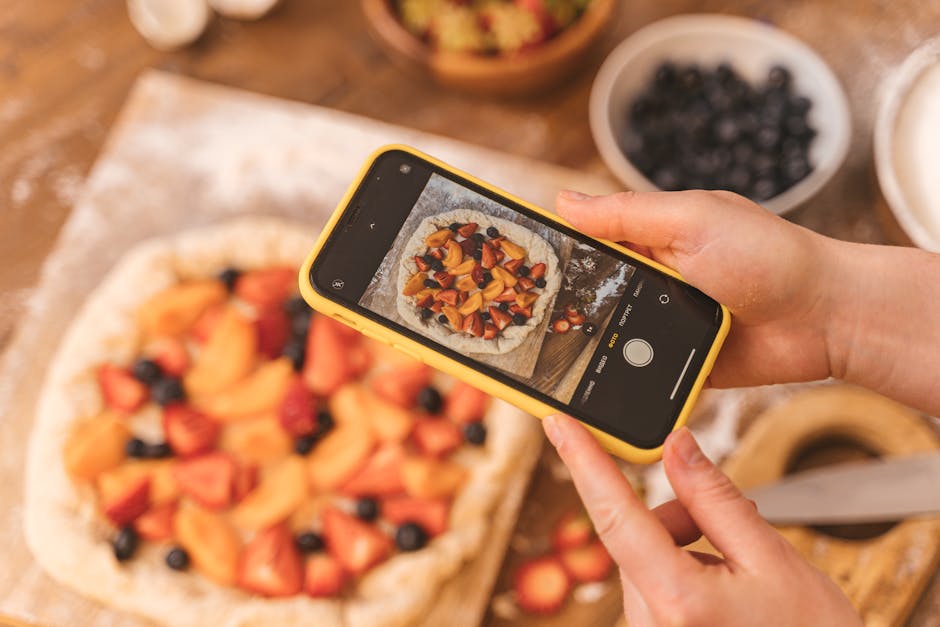
You don't need expensive gear to start photographing recipes for a digital cookbook, many modern smartphones have cameras capable enough for high-quality shots when paired with good lighting conditions. Investing in certain equipment can elevate your photos from good to great:
| Equipment | Benefits |
|---|---|
| DSLR/Mirrorless Camera | Greater control over settings like aperture and shutter speed; higher image quality compared to smartphones. |
| Tripod | Keeps shots steady during longer exposures; allows precise adjustments between frames. |
| Macro Lens | Ideal for close-up shots where you want detailed focus on small elements (e.g., garnishes). |
| Reflector | Bounces natural light back onto shadowed areas without needing additional light sources. |
| Softbox/LED Panels | Provides soft, diffused lighting when shooting indoors or under controlled conditions. |
The success of any digital cookbook relies heavily on how appealing its recipes look visually and that means paying close attention not just to what you're cooking but how you're photographing it. Remember that practice makes perfect, the more time spent experimenting with different angles, lighting setups & editing techniques –the better results you'll achieve over time!